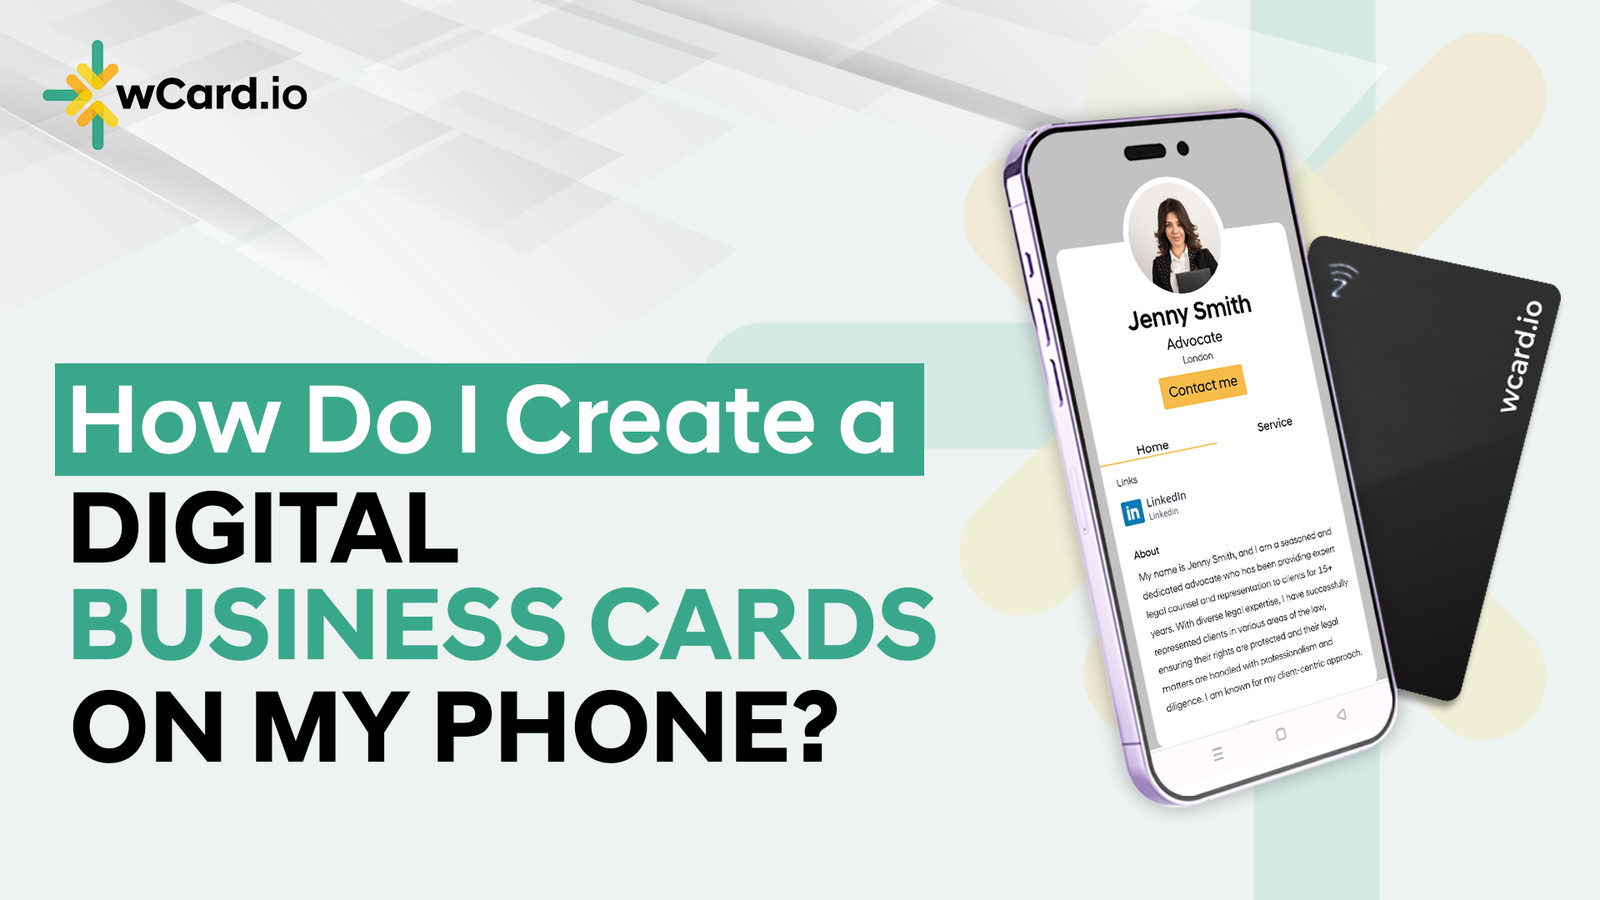
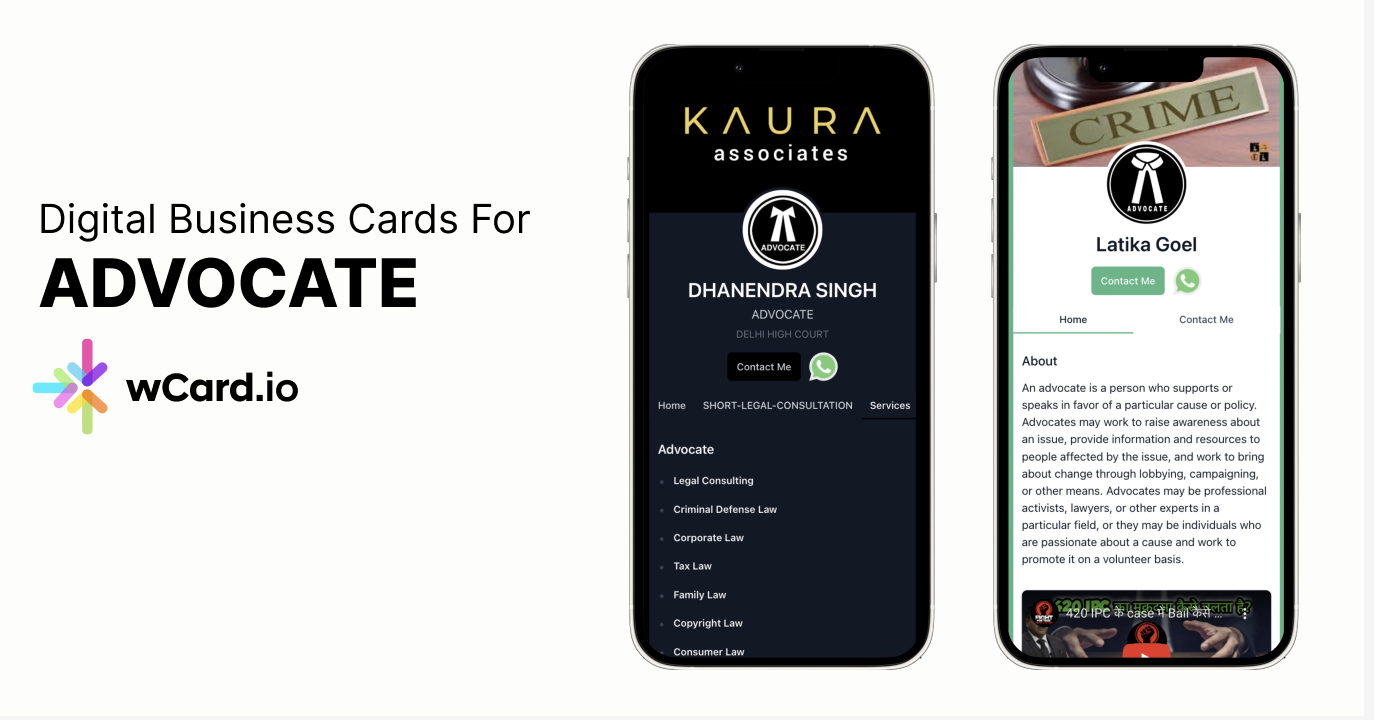
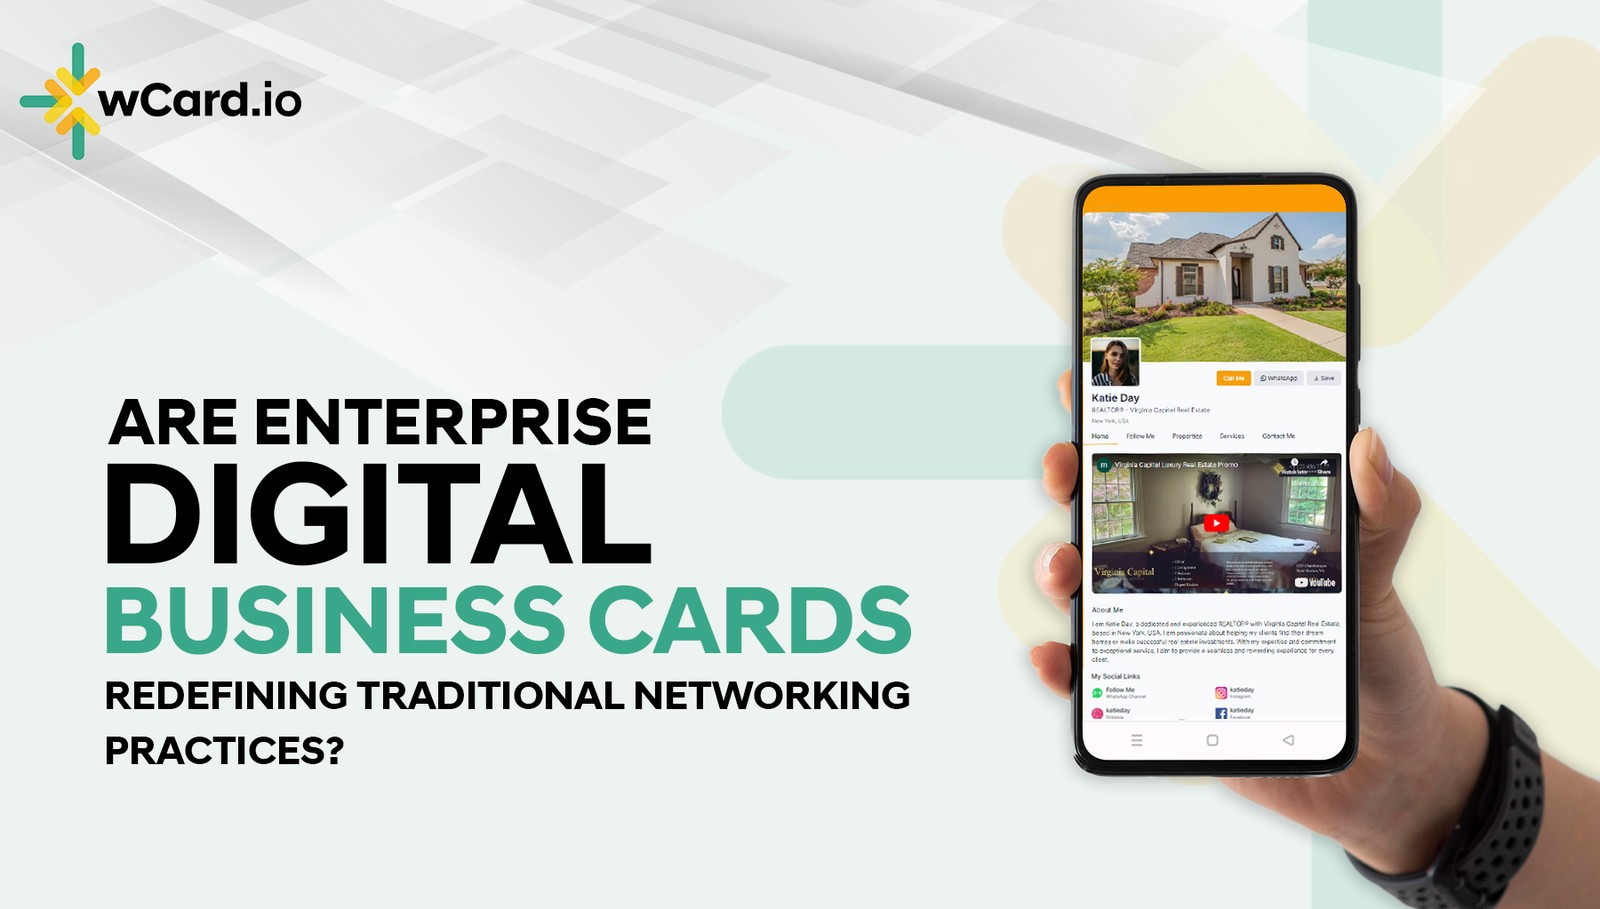
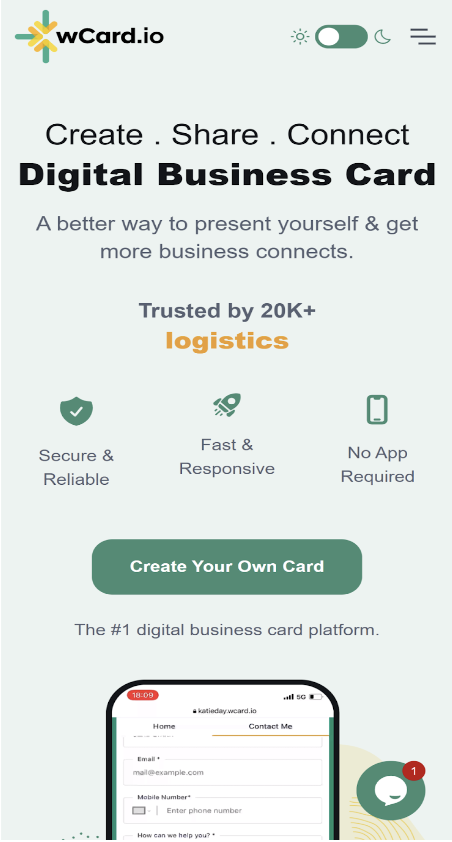
So, you have decided that you want to get yourself a digital business card, but most of the digital business card platforms need you to use your PC, while you would like to just get it done on your phone. Worry not, there is an advanced digital business card platform that lets you create digital business cards on your phone, and you don’t need to install any app!
The best platform where you can easily create a digital business card on the phone is wCard. You can easily make a professional digital card on your phone in a few minutes. And whenever you need to make changes on the card, you can again do it on your phone. Sounds too good? Don’t worry, it’s true.
Let me show you how you can use the power of your phone to create your digital business card
How to Create Digital Business Card on Phone
1. Visit the wCard website:
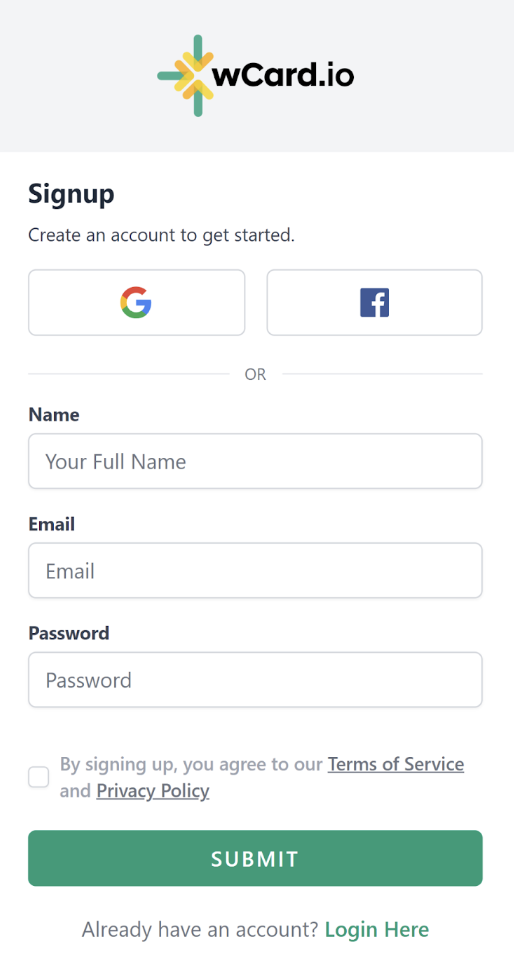
Navigate to the wCard.io website, and sign up with your email or Google or Facebook.
3. Choose a theme:
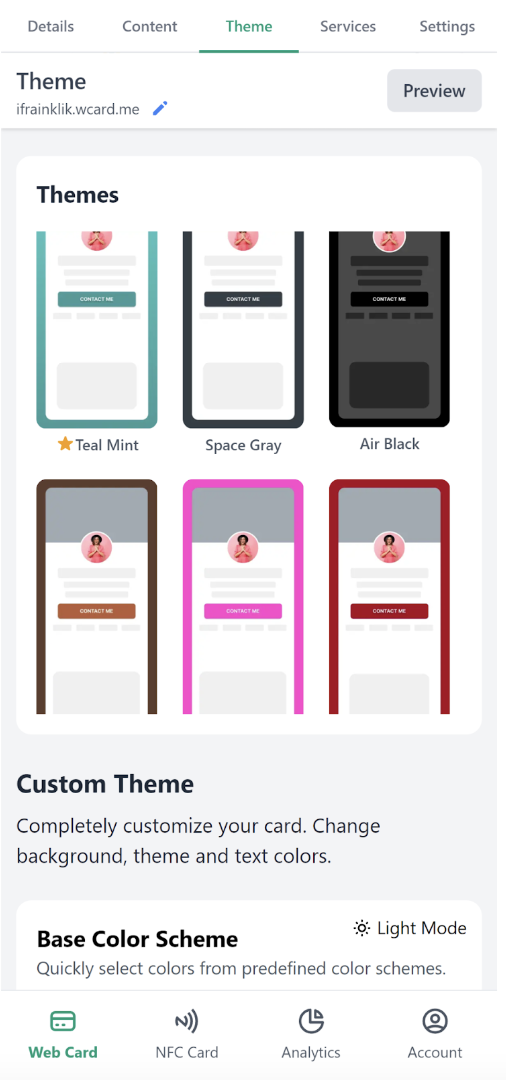
After submitting your sign-up form, it will take you to a page where you will get the option to choose the theme for your card.
It is recommended that you choose a theme that represents your personal brand. Utilize the same colors as your logo or those you commonly use on your social media platforms to maintain consistency.
If you happen to be interested in selecting a premium theme, you can go for it! Otherwise, select from the free ones that are available.
After this, you can add a banner photo and your profile picture as well. All from your phone.
3. Fill up your details:
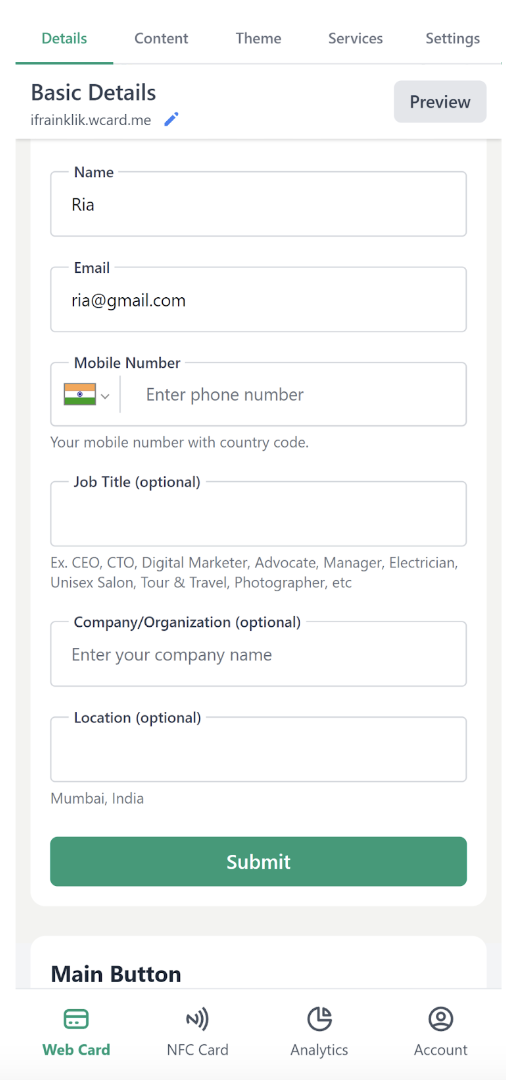
Now, you need to add important details about yourself, such as your name and contact number. Additionally, you can display your business profile information, including your job position, company name, and location.
Moreover, you have the option to incorporate your website link or social media links, allowing others to easily connect with you.
4. Add content:
Next, you should add the content you want to display on your card, and you can also include more pages.
To write the content about yourself, click on edit, and the “content” box will appear. Write in it and click submit.
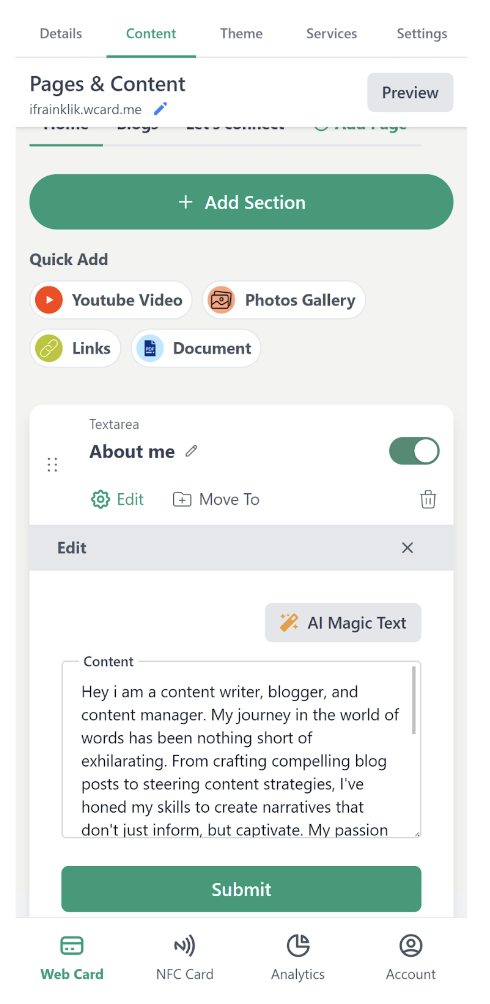
And if you are someone who doesn't enjoy writing content, or if you don't have a clear idea of what content to write, then don't worry, my friend. AI is here to your rescue. You can click on “AI Magic Text” and it will ask you a few questions like:
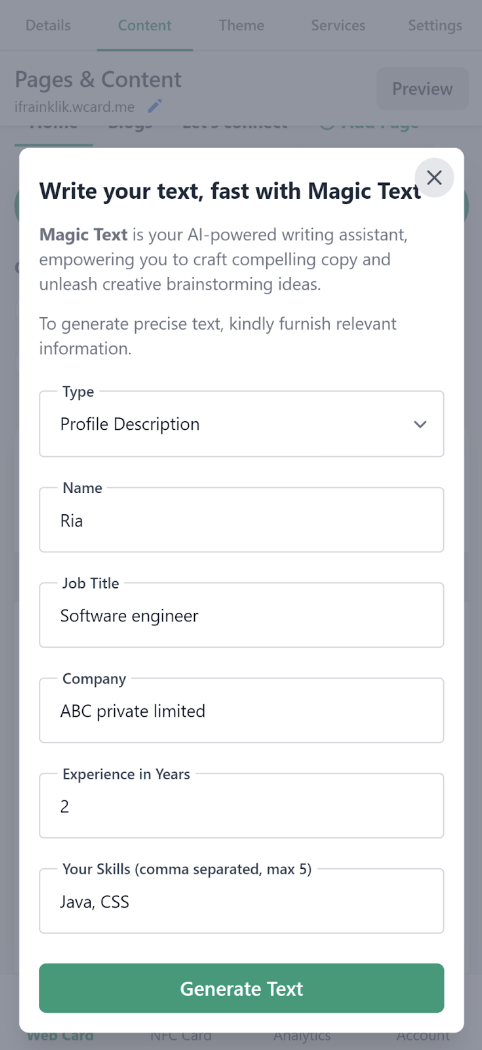
Then click on “Generate text” and AI Magic text will do its magic and write the content for your profile or product, just like this.
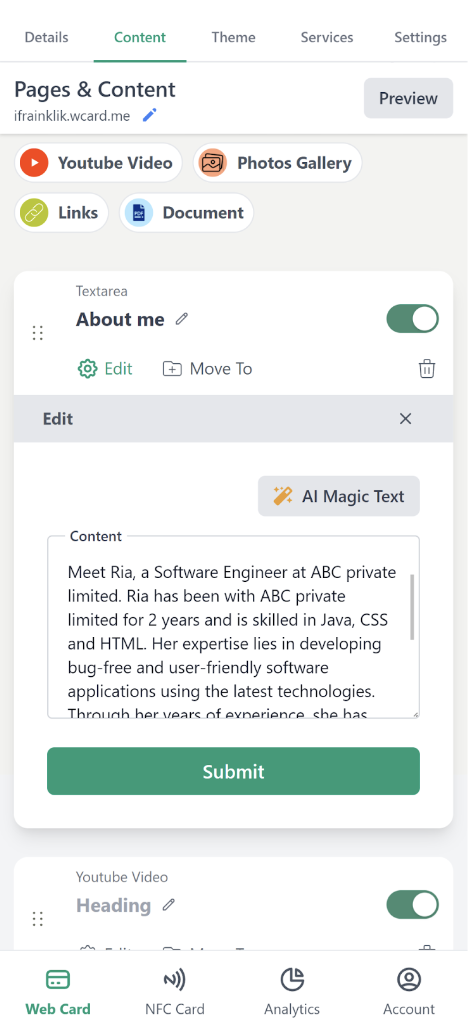
Now, hit on submit, and it will save the content for you.
You have the flexibility to add pages according to your specific needs. You only need to click on "add pages," and it will ask what type of page you want to create.
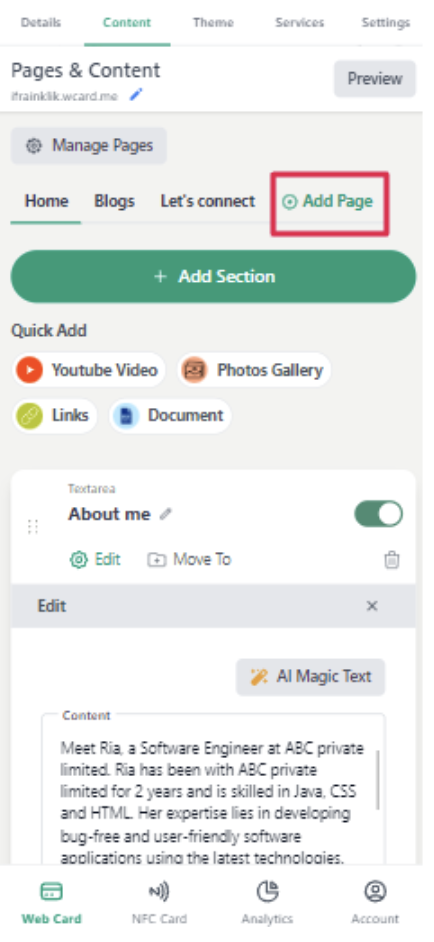
You can see that I have created a “blog” and a “Let’s Connect” page.
5. Add services:
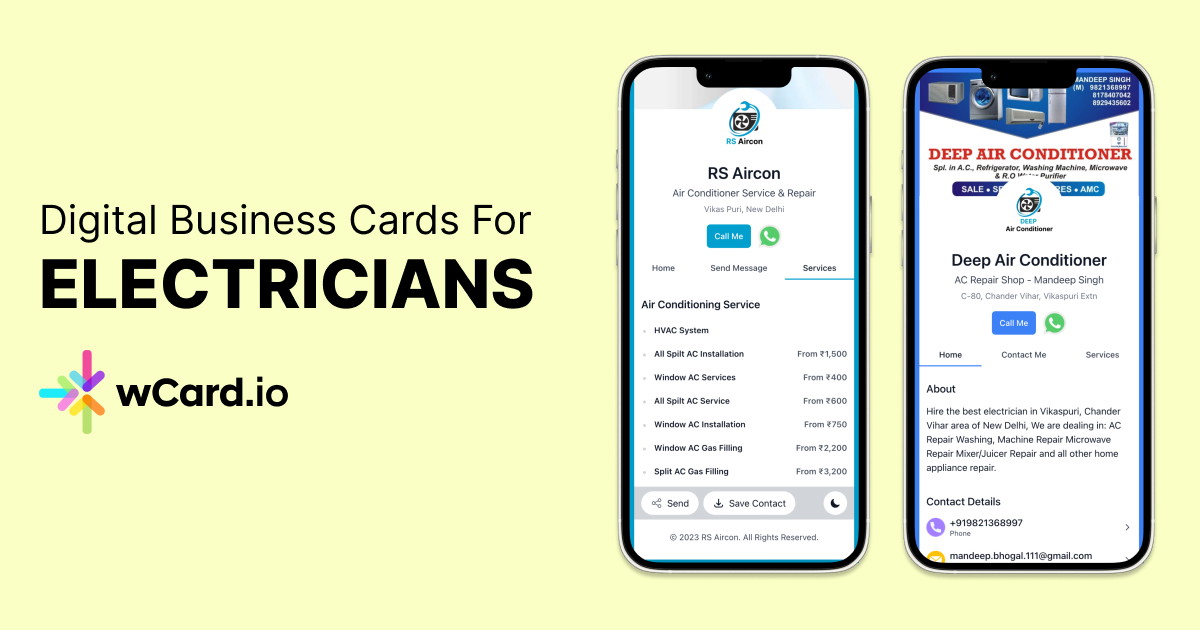
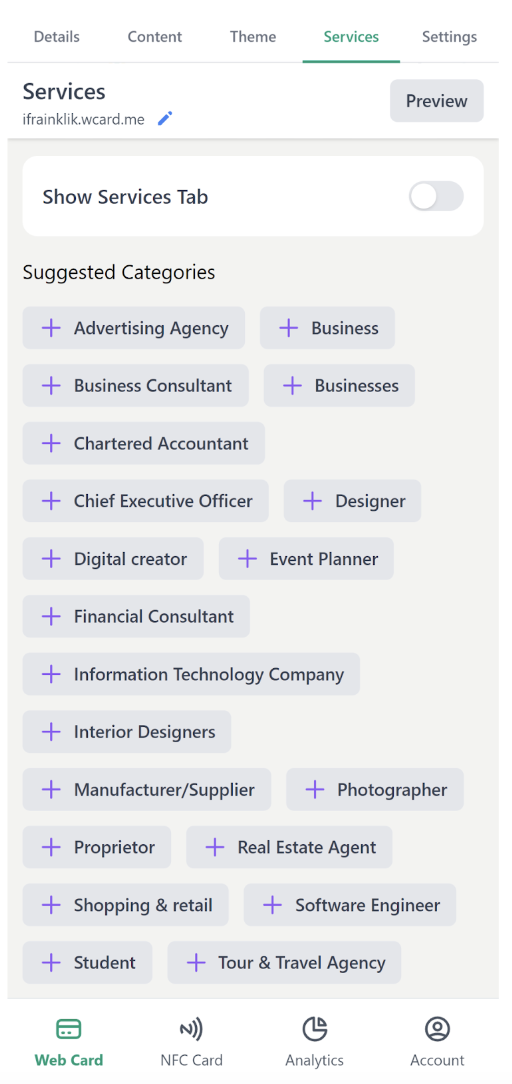
If you offer a variety of services, you can add all of them in the services section. This will make a separate page in your profile. When someone visits your card, they can see the list of services that you provide and can contact you accordingly.
6. Test:
Now, you can test your card by going to the URL provided by wCard. In the free version, the card will be on a subdomain of wCard, like (ria123.wcard.me). However, in the premium version, you can use your own custom domain (like, www.riafreelancer.com).
This turns your digital business card into a mini website where you can showcase your portfolio.

Wrapping up:
With just 6 simple steps, your card will be ready. So, you can see that making a digital business card on a phone is smooth as butter. I don't need to hire a team of tech wizards to do it. Next time you are traveling in the metro, give this a shot and have your swanky new digital business card before you reach your destination.


